


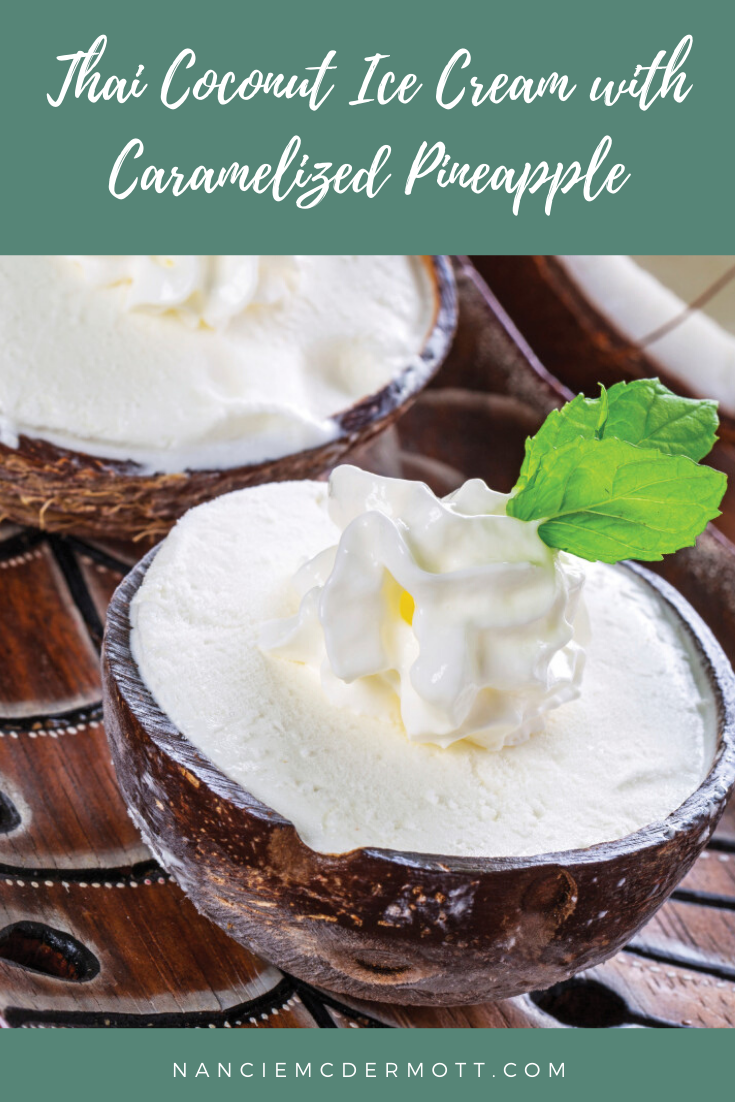
This beautiful photograph graces my new cookbook, Simply Vegetarian Thai Cooking: 125 Real Thai Recipes, but I assure you it is not how I serve luscious coconut ice cream at home. I love the beautiful way professional food photographers and food stylists present food, just as I love the atmospheric travel scenes in fashion magazines, and the thoughtfully curated displays in department store windows in Manhattan and other metropolitan locales. But at home, we put ice cream in the bowls we use for cereal, and the fresh fragrant mint goes in the iced tea.
While I won’t promise your coconut ice cream will match this photo (unless you happen to have serving bowls made of polished coconut shells, and whipped cream ready to pipe out on top) I will promise that you will have a luscious, gorgeously simple dessert to share with family and friends, for the tiniest bit of effort you can imagine. You need an ice cream maker, the kind that sits on the countertop and churns away to make a pint or two at a time. This recipe can be scaled up just fine, so if you have a larger capacity ice cream machine, do that and please a crowd. All you need is coconut milk (canned is fine, and any brand works; if you’re at an Asian market, look for Chao Koh brand and stock up. Better prices and no thickeners and emulsifiers), sugar, and a little salt. That’s it. It being the merry month of May, I note that fresh strawberries, sliced up and sprinkled with sugar to make them shine and give off a little red syrup, would be a lovely spring time addition.

Since strawberries are still a few weeks away for us, I am gilding the coconut ice cream lily with caramelized pineapple, which is simply and swiftly made, providing a tangy counterpoint to coconut ice cream’s rich goodness. Toasted coconut on top, since I had it handy. That’s sweetened shredded coconut, tossed in a medium-hot skillet, no oil no butter no nothing, just tossed in the heat until it browns and crisps up to a lovely tan-brown crunchiness. Now to the recipes:

Thai Coconut Ice Cream with Caramelized Pineapple: A Sweet Vegan Treat!
Here is the classic Thai ice cream that sweetens the hottest evening in Thailand’s upcountry small towns. It could not be simpler and it could not be better. You can jazz it up with flavors and additions in the modern manner, but in my opinion it is perfect as is. Thais love it sprinkled with chopped peanuts and served in tiny bowls or in Thai Ice Cream Sandwiches. (You will need an ice cream maker)
Ingredients
For the Ice Cream
- 2 cans (each 14 oz/400 mL) unsweetened coconut milk (about 3 1/2 cups/875 mL)
- 1 cup granulated sugar (250 mL)
- 1⁄2 tsp salt (2 mL)
For the Caramelized Pineapple Sauce
- 2 ½ cups fresh pineapple chunks, drained well (canned would work also)
- 2 Tbsp vegetable oil
- ½ cup brown sugar (light or dark)
- ½ cup unsweetened coconut milk
Instructions
For the ice cream
- In a heavy saucepan, combine coconut milk, sugar and salt. Place over medium-high heat and bring to a boil, stirring often to dissolve sugar and salt. Remove from heat and pour into a bowl.
- Cover bowl and refrigerate until very cold, about 2 hours. Freeze in an ice cream maker according to the manufacturer’s directions. Serve at once or transfer to an airtight container and freeze for up to 3 weeks.
For the sauce
- Cut the pineapple chunks into flat ½ inch pieces, to create maximum surface area for browning in the skillet.
- Heat the oil in a large, heavy skillet over medium high heat until very hot. Scatter in the pineapple chunks and space them out over the surface of the pan. Cook undisturbed for 30 seconds to 1 minute, until handsomely browned on one side. Flip and cook on the other side until browned, another 30 seconds to a minute .
- Add the sugar and toss to mix it in among the pineapple pieces. Let it bubble up and thicken a little for about 1 minute. When the sugar has melted into a thick, bubbly syrup, add the coconut milk. Toss to mix everything well. When it comes to a boil, reduce the heat to maintain a lively bubbly simmer and cook, stirring often, until thickened a little, 1 to 2 minutes more. Transfer to a bowl and serve hot, warm, or at room temperature.
Notes
You can make the ice cream base in advance, cover, and chill for up to 1 day before you churn it into ice cream.
If the ice cream loses its pleasing texture and becomes grainy, break it into chunks and briefly process in a food processor fit with a metal blade to restore its creaminess.
Nutrition Information
Yield 4 Serving Size 1Amount Per Serving Calories 662Total Fat 32gSaturated Fat 22gTrans Fat 0gUnsaturated Fat 7gCholesterol 0mgSodium 315mgCarbohydrates 100gFiber 1gSugar 95gProtein 3g
Leave a Reply